

PiVPN
Setup a VPN server on Raspberry Pi 5 with PiVPN
Saif Chhipa
10/21/20245 min read
What is VPN?
A VPN, or Virtual Private Network, is a technology that creates a secure and private connection over the public internet.
We use a VPN to connect safely to our school, organization, and home networks while online.
VPNs enhance privacy and security by encrypting data and masking the user's IP address, ensuring that information stays protected.
PiVPN
PiVPN is a script for installing OpenVPN and WireGuard. It enables you to easily set up a secure virtual private network (VPN). Pi VPN automatically configures your server to function as a VPN server. While it is commonly used with Raspberry Pi, it can also be installed on any server running a Debian-based operating system.
Benefits
VPN allows you to set up a private and secure communication channel over unsafe public internet.
• Secure Browsing: Encrypts your data on the public WiFi.
• Remote Access: Enables a secure connection to your home, office and organization’s internal network.
• Easy Configuration: Pi VPN is super easy to set up.
Prerequisites
• A dedicated Raspberry Pi with Raspberry Pi OS or Debain based distro.
• A stable internet connection
• An SD card
• Basic Linux knowledge
• Basic Networking knowledge
Raspberry Pi setup
1 Install the Raspberry Pi imager from the website.

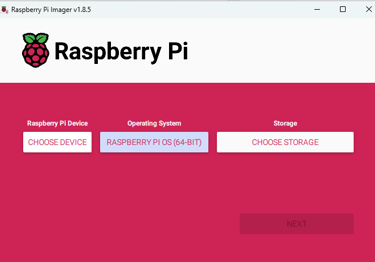
2. Select the Raspberry PI OS (Lite or Desktop) & SD card on the “choose devices”


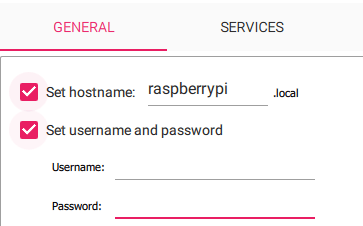
3. Click “next” & select “Edit Settings”
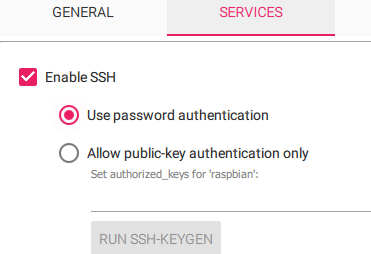
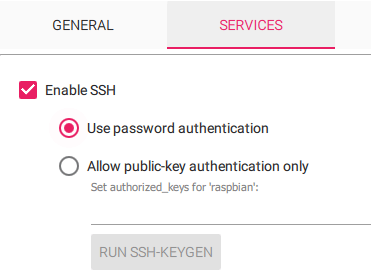
4. Switch to Services tab and enable SSH
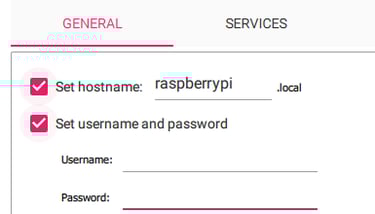
5. On the General tab, you can configure the username and password, if you don’t then the default username is pi and password is raspberry.
6. Click “Save”.
7. Click “Yes” & then “Write”.
It will take some time.
8. Once it finishes, plug your SD card into the Raspberry Pi & power it on.
9. Then establish SSH connection by checking the IP address of the Pi into your home router.
10. The SSH command will be “ssh username@IP”.
Network Configuration
We need to assign a static IP address to Raspberry Pi.
This can be done either separately, or we can configure it during the Pi VPN installation.
1. Open the dhcpcd.conf file by entering “sudo nano /etc/dhcpcd.conf” & enter the the IP.
Installing PiVPN
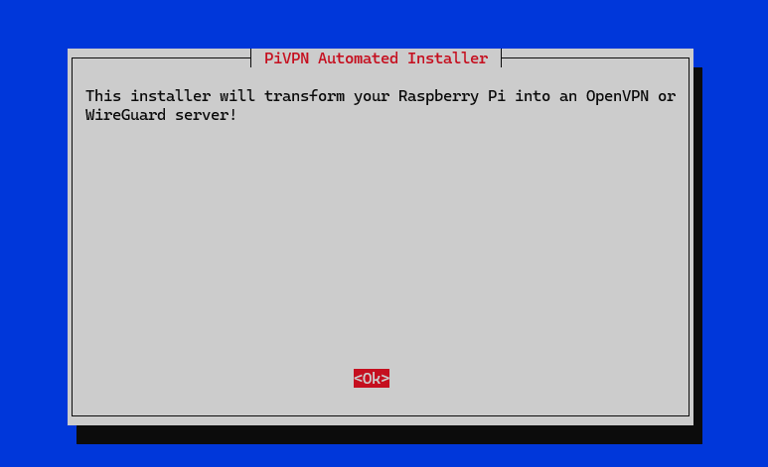
1. Run the PiVPN script by entering this command in the terminal “curl -L https://install.pivpn.io | bash”.
2. The script can be viewed by visiting https://install.pivpn.io
3. Click “Ok”.

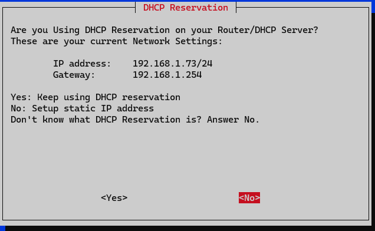
4. If you haven’t configured your static IP before, it can be done here.
5. Select “No” to configure a static IP address or “Yes” if you have already done in the previous step.

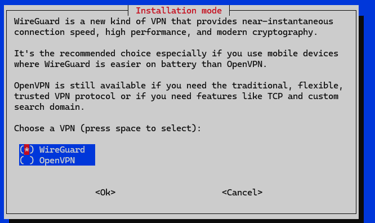
6. Choose the protocol you want to use. In this case, it is WireGuard.

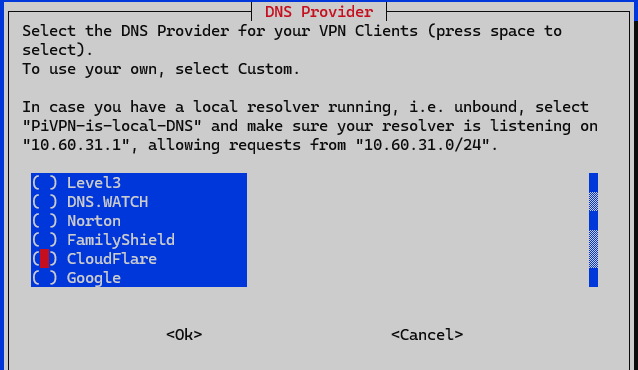
7. Select the DNS provider for our VPN clients.
8. This is the important step, either select your public IP or your DNS as an option for your client to connect with the server.
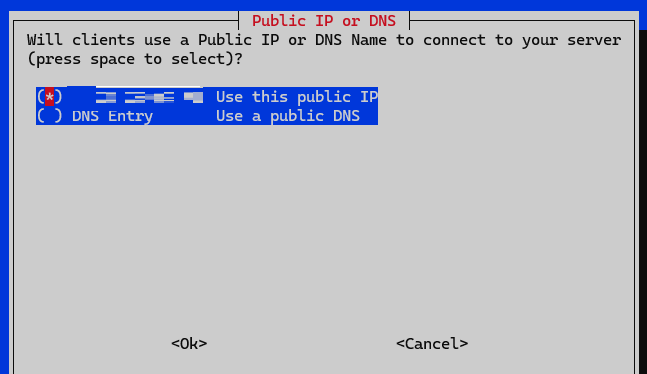
Note: If your Internet Service Provider (ISP) has given you a static public IP address, you can choose the first option. However, if you have a dynamic IP address, you will need to select the DNS option and set up Dynamic DNS.
9. It is a good idea to enable unattended upgrade.


10. Click “Ok” to complete the installation & reboot the device.
Note: You must configure port forwarding on your home router to allow incoming connection for port 51820, and forward them to the Raspberry Pi.
Setting Up VPN Clients
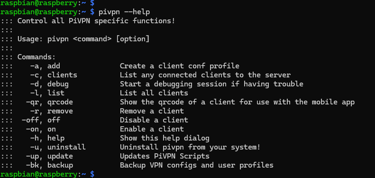
After rebooting, you should be able to run pivpn commands. Enter "pivpn --help" to see the available commands.

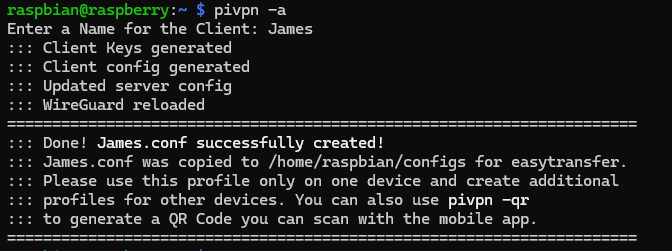

Adding a Client
Use “pivpn -a” to add a new client.
Connecting to the VPN
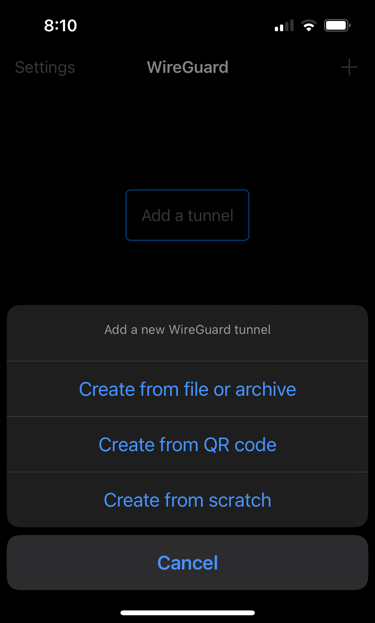
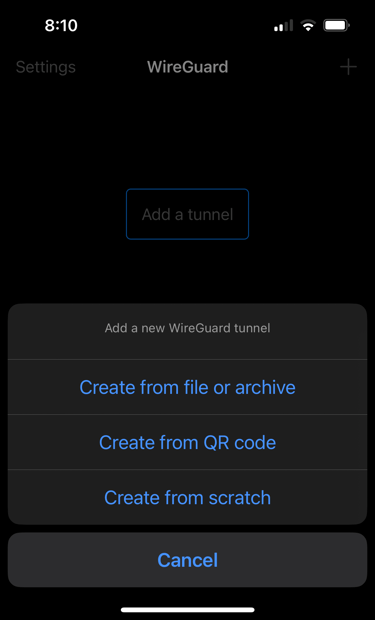
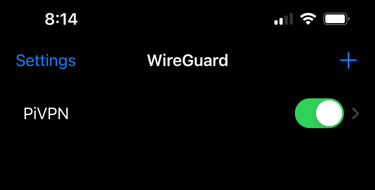
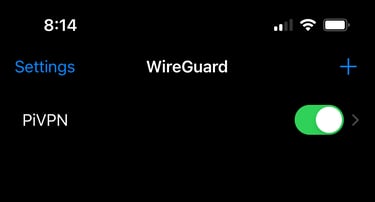
1. Download the WireGuard app on your phone or device.
2. Run “pivpn -qr" command on raspberry pi to generate a QR code for client you have created.

3. On your phone click on “Add a tunnel” and “Create from QR code.
Verifying the Connection
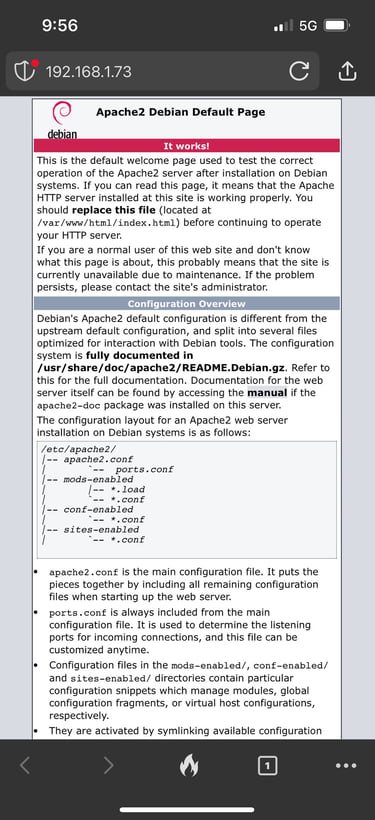
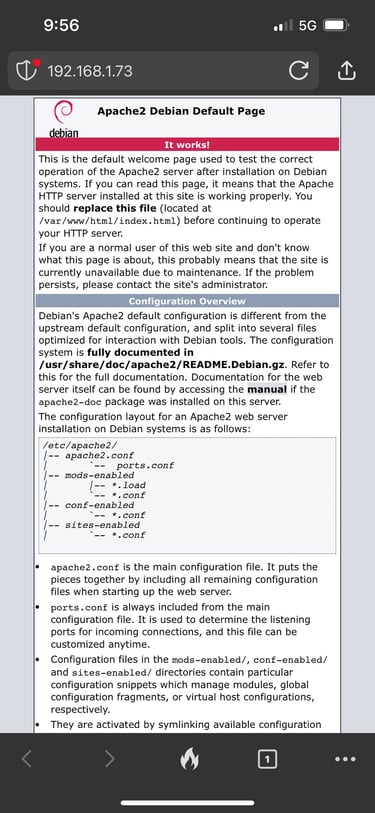
I successfully loaded the Apache page hosted on the Raspberry Pi, confirming that our VPN is functioning correctly.
To verify whether a client from the public internet can connect to our VPN server, I have enabled the Apache server on the Raspberry Pi.
This server can only be accessed by devices within the 192.168.1.0/24 subnet. Let's check if the mobile client can access the webpage.
Raspberry Pi IP address:192.168.1.73
Client Details
Alternatively, we can use the “pivpn -c” command to see whether we successfully connected with the client.


Conclusion
Self-hosted VPNs like Pi VPN allow us to connect to our home or organization's internal network. They are great for embedded system projects and for securely accessing internal resources of a school or organization over the public internet.
Reference
PiVPN - https://www.pivpn.io/
PiVPN Documentation - https://docs.pivpn.io/
PiVPN Installation - https://docs.pivpn.io/install/
Raspberry Pi - https://www.raspberrypi.com/